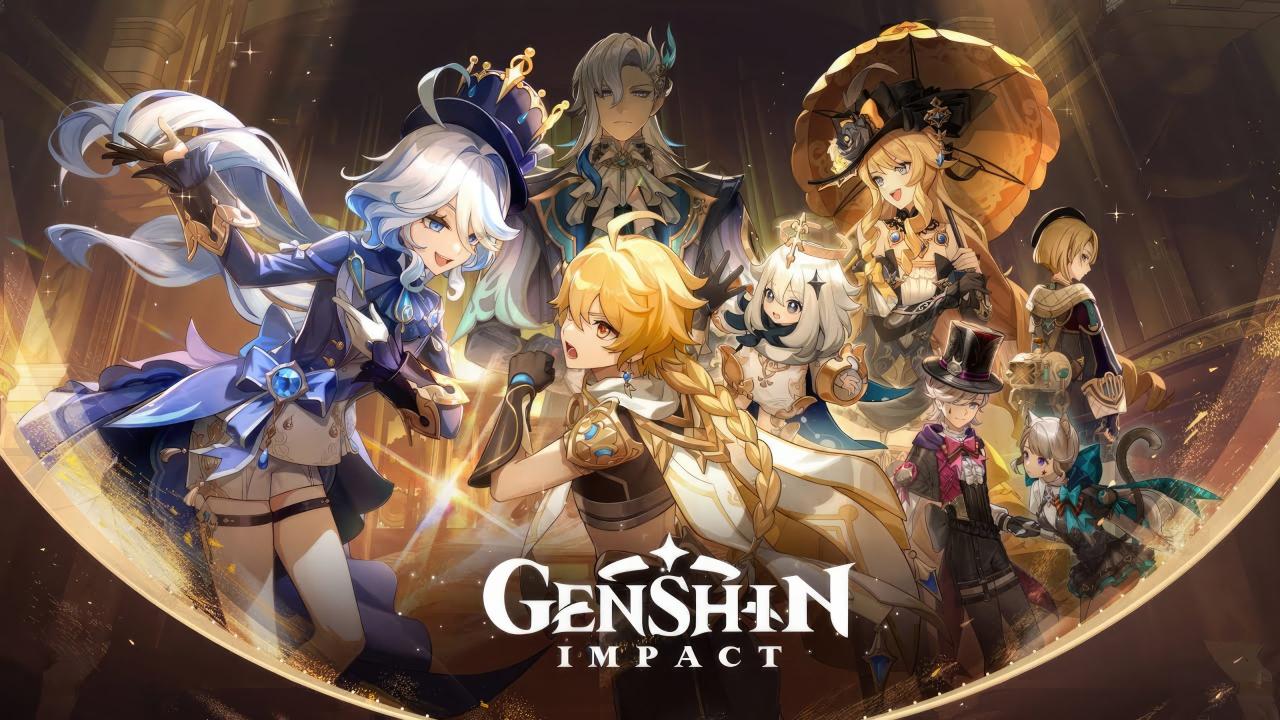
Stepping into the vast, gorgeous open world of Teyvat in Genshin Impact is an adventure unlike any other, immediately overwhelming new players with its vibrant landscapes, compelling storyline, and, most importantly, its intricate gameplay systems.
This game is far more than just exploration; it is a deep, complex Action RPG built entirely around the synergy of its seven distinct elements, making combat a fascinating, rotating puzzle where mastering Elemental Reactions is the key to unlocking truly devastating damage.
From the moment you pick up your first Traveler twin, you’re faced with a constant stream of choices: which characters to invest your limited resources in, how to spend your daily Original Resin, and what stats to prioritize on those elusive Artifacts.
Ignoring these crucial details can quickly lead to a frustrating experience, where enemies scale faster than your characters can keep up, making even simple tasks feel like a struggle.
This comprehensive guide aims to demystify the core mechanics, lay out a clear path for smart resource management, and provide the essential tips needed to build powerful teams that can conquer the toughest challenges, transforming your journey through Teyvat from a confusing wander into a confident, power-driven masterclass.
Get ready to learn the secrets of the elements and turn your ragtag party of heroes into an unstoppable force.
The Foundation: Combat and Elemental Mastery
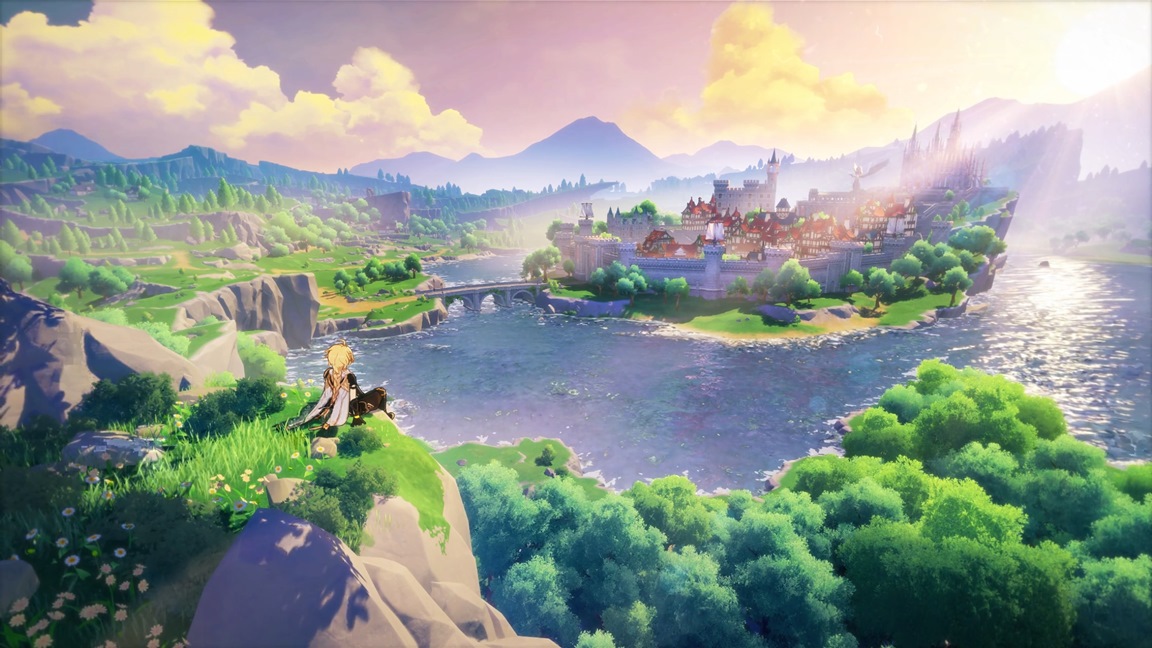
Genshin Impact’s combat is built entirely on the principle of using your four characters’ abilities in quick succession to trigger high-damage Elemental Reactions.
This system is the heart of the game, and understanding it is non-negotiable for success.
A. The Seven Elements and Resonance
The world of Teyvat is governed by seven distinct elements, each with its unique properties and corresponding nation.
A. Pyro (Fire): Excellent for setting up powerful reactions like Melt and Vaporize, often providing huge offensive boosts.
B. Hydro (Water): Critical for triggering Vaporize and Electro-Charged, and for applying the Wet status effect.
C. Cryo (Ice): Essential for the high-damage Melt reaction and the crucial crowd-control effect of Freeze.
D. Electro (Electric): Forms the base for Superconduct (which reduces physical resistance) and the new Dendro reactions like Aggravate.
E. Dendro (Nature): The newest element, central to complex reactions like Bloom (creating Dendro Cores) and Quicken(setting up Spread/Aggravate).
F. Anemo (Wind): Primary role is Swirl, spreading existing elements and utilizing the Viridescent Venerer artifact set to shred enemy resistances.
G. Geo (Earth): Triggers Crystallize with other elements, creating protective elemental shields that offer survivability.
B. Mastering Elemental Reactions
Elemental Reactions are the primary source of damage in the game, categorized into Amplifying, Transformative, and Dendro-based reactions.
A. Amplifying Reactions (Melt & Vaporize): These multiply the damage of the attack that triggered them; for example, Pyro on Cryo (Melt) or Hydro on Pyro (Vaporize) can result in a 2x damage multiplier, making the attack itself hit much harder.
B. Transformative Reactions (Overloaded, Electro-Charged, Swirl, etc.): These deal their own instance of damage that scales primarily with the Trigger Character’s Level and Elemental Mastery (EM), not the attack’s initial damage.
C. The Dendro Tree (Quicken, Bloom, Burgeon, Hyperbloom): These reactions are highly complex; for instance, Dendro + Hydro creates Dendro Cores, which can then be detonated by Pyro (Burgeon) or Electro (Hyperbloom) for massive area damage.
D. Reaction Order Matters: For Amplifying Reactions, the order is crucial: applying Pyro to a Cryo-affected enemy (Melt) is usually better than the reverse, due to the way the elemental status consumption works.
C. Team Composition and Synergy
Your party of four must be constructed for perfect elemental synergy and role coverage.
A. The DPS Core: Every team needs a Main DPS (Damage Per Second) character who stays on the field to deal damage, and one or two Sub-DPS/Enabler characters who apply their elemental damage from off-field.
B. Support and Utility: Always include at least one Healer or Shielder to ensure your team’s survival, especially in challenging content like the Spiral Abyss.
C. Elemental Resonance: Pairing two characters of the same element grants a powerful Elemental Resonance buff to the entire party; for example, two Pyro characters give a significant Attack (ATK) boost.
D. The Rotation: The key to combat is the rotation: quickly swapping between characters to apply off-field skills, trigger the desired reaction with the Main DPS, and then immediately cycle back to recharge Elemental Bursts (ultimate abilities).
Resource Management and Progression Roadmap
Teyvat is a massive world, but your time and resources are limited by the game’s energy system, Original Resin. Smart planning is the difference between slow and fast progression.
A. Adventure Rank (AR) and World Level
Your Adventure Rank (AR) dictates your access to content, and your World Level dictates enemy difficulty and reward quality.
A. Prioritize AR: Focus on reaching higher AR quickly by completing the Archon Quests (main story), opening every Teleport Waypoint and chest you see, and completing Daily Commissions.
B. Daily Commissions: These short quests are the single most efficient way to gain Adventure EXP and Primogemsdaily and should never be skipped.
C. Adventure Handbook: Use the Adventure Handbook to guide your early progression, as completing its tasks rewards you with essential materials and experience.
D. Ascension Thresholds: Raising your World Level increases the difficulty of open-world enemies and bosses but also unlocks higher-level material domains and rewards, which is necessary for character and weapon ascension.
B. Optimizing Resin Usage
Original Resin is your most precious daily resource, used to claim rewards from dungeons and bosses.
A. Spend Daily: Your primary goal each day should be to spend all your Original Resin on the most important materials.
B. Early Game Focus: When your AR is low (before AR45), use Resin primarily on Weapon Material Domains and Talent Books, which are efficient to farm early on.
C. Late Game Focus (AR45+): Once you hit AR45, shift nearly all your Resin budget to Artifact Domains, as this is when the highest-rarity (5-star) Artifacts are guaranteed to drop, which is the key to building powerful characters.
D. Weekly Bosses: Don’t forget to defeat the Weekly Bosses (like Stormterror or the Wolf of the North) once a week to get rare Talent Level-Up Materials.
C. The Gacha System and Primogems
The “Wish” system is how you acquire new characters and weapons.
A. Save for Limited Banners: As a free-to-play (F2P) player, save your Primogems exclusively for the Limited Character Banners, as these characters are time-gated and generally more powerful or meta-defining than those on the permanent banner.
B. Understanding Pity: Learn the “Pity” system; this mechanism guarantees a 5-star character after a certain number of pulls, which is crucial for planning your spending.
C. Intertwined vs. Acquaint Fates: Always convert your Primogems into Intertwined Fates for the limited banners and use Acquaint Fates (often given free through progression) on the permanent banner.
D. Avoid Spreading Resources: Only pull for characters you intend to fully invest in; a low-investment character is often weaker than a fully-built 4-star hero.
Character Building: Artifacts and Weapons

Your hero’s raw damage potential is determined by a combination of their Artifacts, Weapons, and Talent Levels.
A. Artifact Stats and Priority
Artifacts provide the largest boost to your character’s stats but are also the most complex and RNG-dependent part of the game.
A. Set Bonuses: Focus on equipping a 2-piece and/or 4-piece set bonus (Gladiator’s Finale, Viridescent Venerer, Emblem of Severed Fate, etc.) that synergizes perfectly with your character’s abilities.
B. Main Stat Priority (The Fixed Slots):
A. Flower: Always has Flat HP as the main stat.
B. Feather: Always has Flat ATK as the main stat.
C. Sands: Prioritize Energy Recharge (ER%) or ATK% (or Elemental Mastery for reaction characters).
D. Goblet: Must prioritize Elemental Damage Bonus% (e.g., Pyro DMG Bonus) for the main DPS.
E. Circlet: Prioritize CRIT Rate% or CRIT DMG% (or Healing Bonus for healers).
C. Sub-Stats and CRIT Ratio: For DPS characters, the most important Sub-Stats are CRIT Rate, CRIT DMG, and ATK%. Aim for a healthy 1:2 ratio (e.g., 60% CRIT Rate to 120% CRIT DMG) to maximize consistent damage.
D. Leveling Strategy: Only level 5-star artifacts to +20, and only level up artifacts that have the correct Main Stat and at least two good Sub-Stats.
B. Weapons and Ascension
Weapons provide a base ATK stat and a powerful passive ability.
A. Ascend Weapons First: Early on, prioritize Ascending and Leveling your main team’s weapons to max level before focusing on character levels, as weapon ATK provides a massive boost.
B. Weapon Passives: Carefully read the weapon’s passive ability and ensure it synergizes with the character’s kit; for example, weapons that grant Energy Recharge are great for characters who rely on their Elemental Burst.
C. F2P Options: Many excellent 4-star weapons are available through the game’s crafting system (e.g., Prototype Amber, Iron Sting), offering powerful and accessible alternatives to 5-star weapons.
C. Talents and Leveling
Talents are your character’s core skills and must be upgraded to increase damage and utility.
A. Prioritize Talents: A fully leveled talent can provide a much bigger damage boost than an equivalent investment in artifacts.
B. Main DPS Focus: Always focus on maxing the talents of your Main DPS first, prioritizing their Normal/Charged Attack (if they’re a “on-field” DPS) and their Elemental Burst.
C. Support Focus: For supporting characters, prioritize their Elemental Skill and Elemental Burst, as these are the abilities they will be using most often.
D. Weekly Boss Materials: Talent levels beyond level 6 require materials dropped exclusively from the Weekly Bosses, so regular farming of these bosses is essential for late-game progression.
Conclusion
The complex alchemy of Genshin Impact rewards players who approach its systems with both patience and strategy.
Understanding the deep relationship between the seven elements is the fundamental key to unlocking enormous damage and successful team building.
The efficient management of Original Resin and Primogems dictates the speed and direction of your account’s long-term power progression.
Every single decision, from where you spend your character experience books to which artifact sub-stat you prioritize, contributes meaningfully to your overall team strength.
Diligent completion of Daily Commissions and a smart approach to collecting Local Specialties ensure that the necessary resources are always available when you need them for an upgrade.
Your ability to adapt your team composition and leverage powerful elemental rotations will ultimately determine your success in challenging, end-game content like the Spiral Abyss.
By embracing the intricate systems and constantly seeking to optimize your builds, you will find a truly satisfying and never-ending adventure waiting for you across the beautiful landscapes of Teyvat.

